raven5
Levergunner 2.0
USA
189 Posts
Posted - 07/07/2007 : 5:09:29 PM


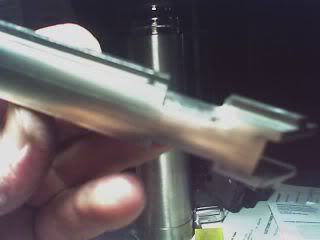
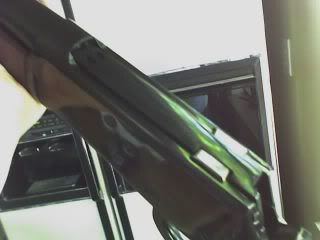
That ugly little lever on my Puma's bolt has been driving me nuts. Just ugly and ruins my sight picture.
Well, I finally took care of it. I removed the bolt, which by the way was the first time I completely tore down my rifle--what fun that was, and had at it.
1) I first stripped the bolt of the ejector and removed the pin that retains the safety lever and removed the lever. Remove the pin retaining the firing pin and set the firing pin to the side.
2) I then removed the little spring and ball bearing in the lever.
3) I then ground down the top of the lever so it would be close to flush with the top of the bolt. I also ground off the lower part of the safety plug so it wouldn't extend into the firing pin guide hole and interfere with the movement of the firing pin. This is critical.
4) I reinstalled what was left of the lever plug and pinned it back into place. I did this to fill the hole as much as possible and I'll discuss why later on.
Sorry I didn't take pics of everything up to this point.
5) Anyway, welded up the hole and all gaps at the top of the bolt. Now, the advantage and importance of reinstalling a modified lever and not simply discarding it is to fill the hole as much as possible. What this does is requiring the least amount of weld necessary to accomplish the filling of the hole. The importance of this is to reduce the amount of heat applied to the bolt. This will avoid any warping of the bolt which would be very noticeable resulting in a rough action, if not bad enough to render the bolt unusable or in need of some polishing or milling to be operational. I then ground most of the excess off fairly flush with the top of the bolt using a 3M polishing wheel.
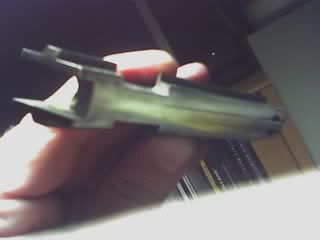
6) I finished the polishing by hand with 320 grit paper.
7) Took me a while but I got all traces of the original hole, the F and S engravings, and any excess weld off the bolt while maintaining the contour of the bolt. When you do this, be VERY careful not to break/round the edges of the bolt itself or the cutouts for the locking bolts. Don't ask how I know. If you do, don't worry or panic because as long as they aren't too bad you can keep sanding and re-contour the bolt to clean up the damage. You're not removing as much material as you might think you have to so there will not be any strength lost.
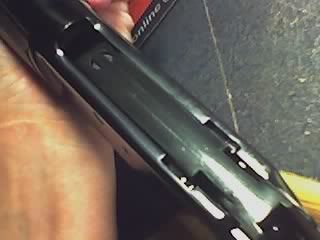
8) I then cold blued the bolt using Birchwood Casey Super Blue and test fit the bolt for smoothness and appearance.
9) I reassembled everything and now she looks as John Moses intended.
***An afternote to this, during the reassembly I completely removed the hammer and mainspring without retaining/pinning the spring and hammer strut in place. This makes reassembly difficult to say the least. Take a binder clip and remove one of the spring clips on it. Place the spring on the strut and insert the spring clip leg into the hole in the end of the strut. You don't have to compress the spring and it doesn't matter at what point in the spring you do this. The spring clip is the exact size for the hole and it is very strong and won't bend under the pressure of the mainspring. After this is done, simply 'screw' the mainspring onto the strut until you have completely compressed it. Very simple. You can leave this in place while reassembling the lower tang and hammer and it makes it much easier. You can leave it in place until you have to reattach the buttstock.
==========================================================
"When I get to likin' someone, they ain't around long."
"I notice when you get to DISlikin' someone they ain't around for long neither!"
"Well son, since you haven't learned to respect your elders, it's time you
learned to respect your betters." --John Wayne
Edited by - raven5 on 07/07/2007 5:56:02 PM